

Photography · How-to
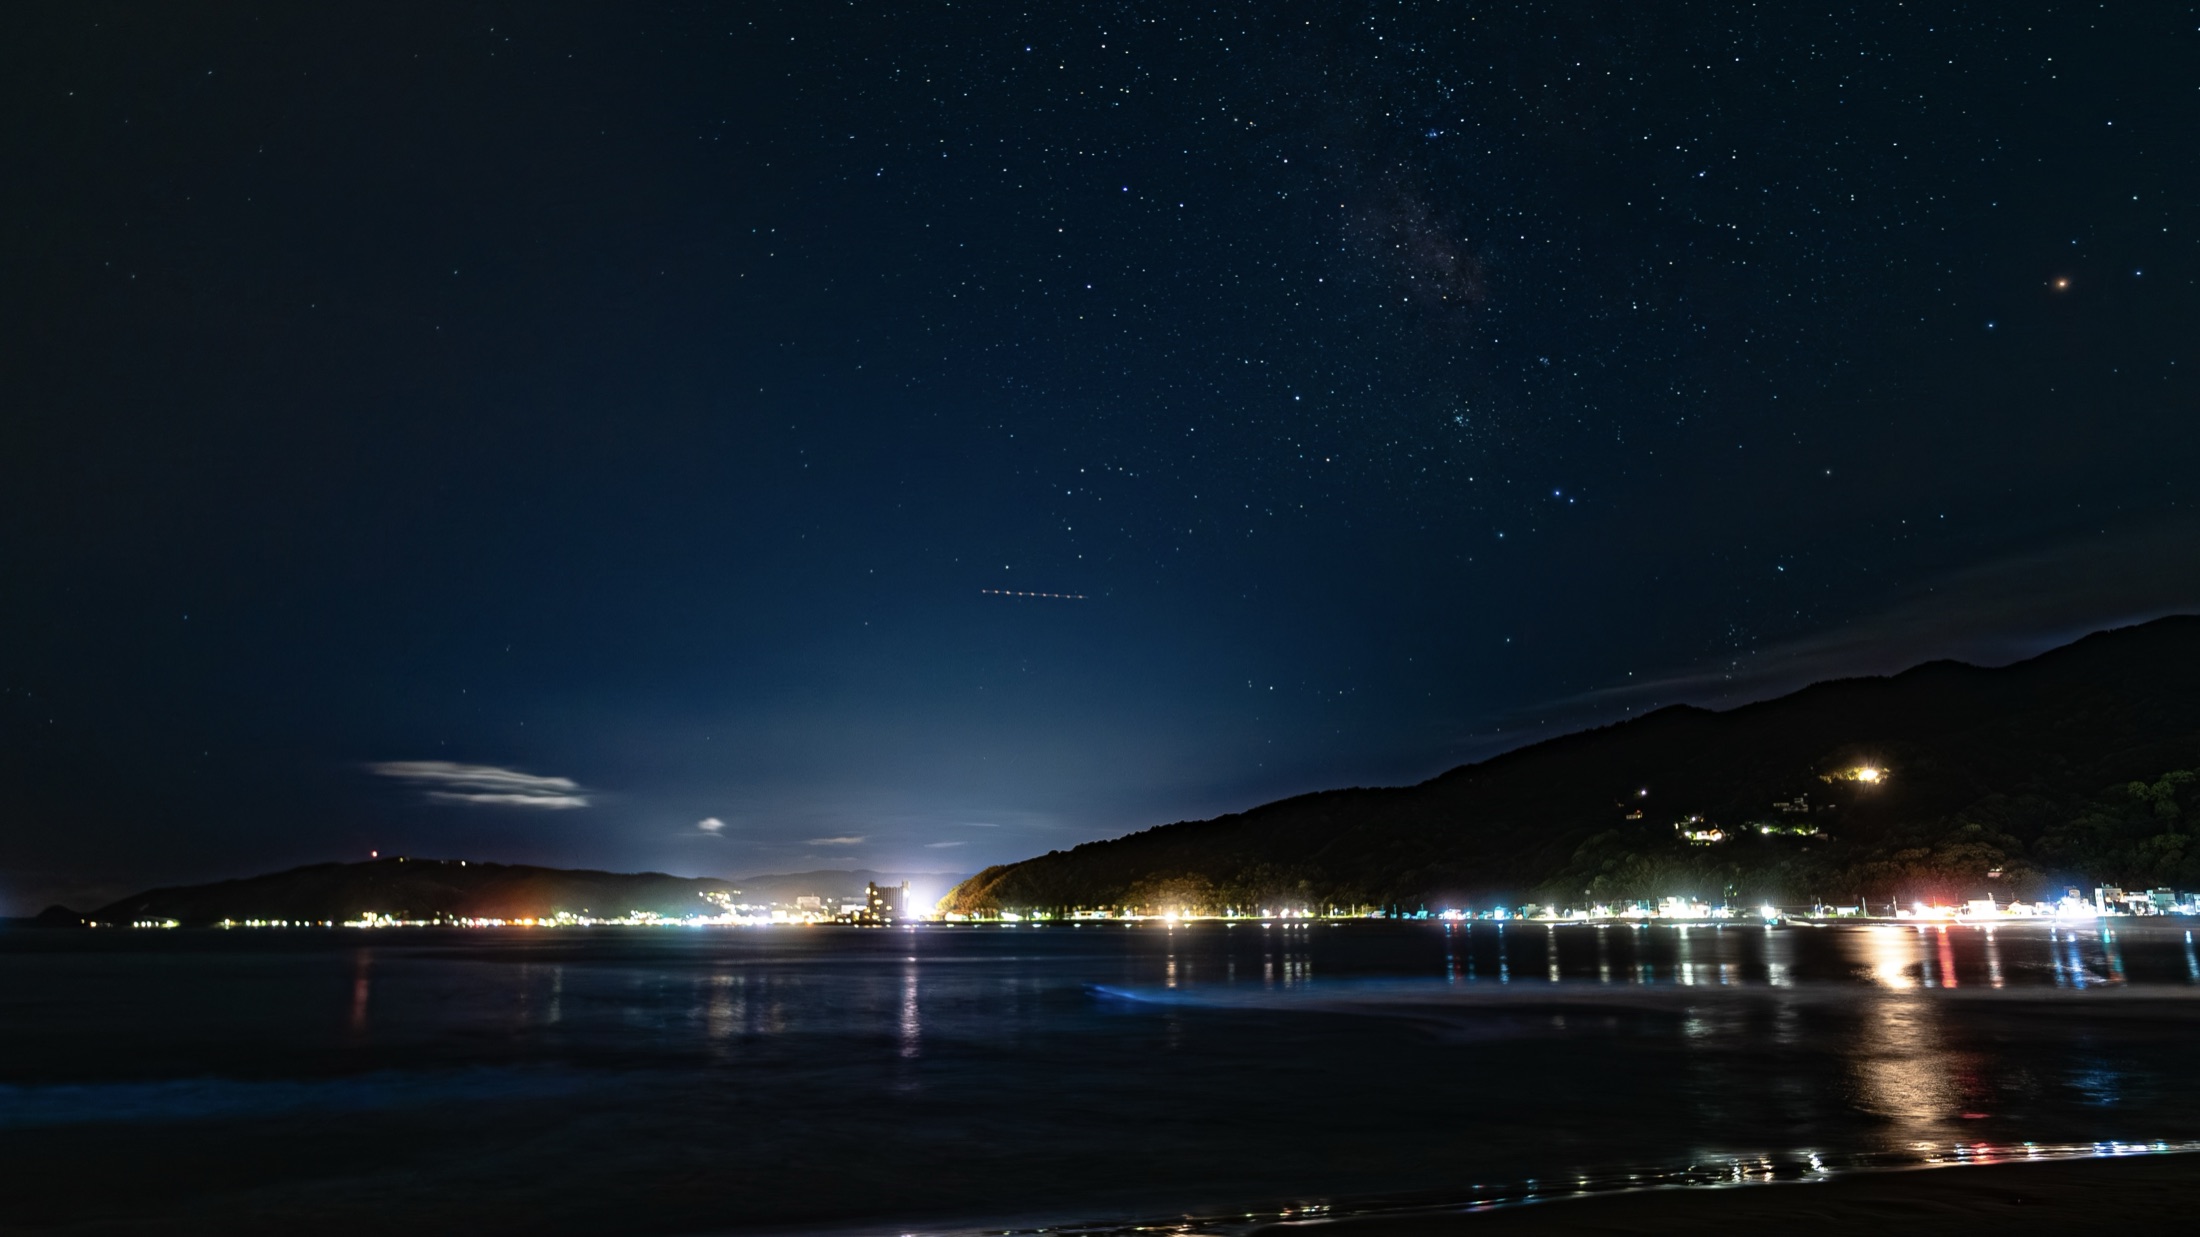
To photograph sea sparkle you need a tripod, manual mode, a long exposure of roughly 8–20 seconds, a wide aperture (f/1.4–f/2.8), ISO around 1600–6400, and manual focus set to infinity — because the single most important thing to know is that the glow looks far fainter to your eyes than it does to a camera, and it is the long exposure, not the bloom, that makes those electric-blue photos. I have shot this glow for years on the same dark beaches, and almost everyone who tries it makes the same two mistakes: they expect their eyes to see what the photos show, and they leave the camera on autofocus. Fix those two things and you are most of the way there.
First, the honest part: your eyes vs the camera
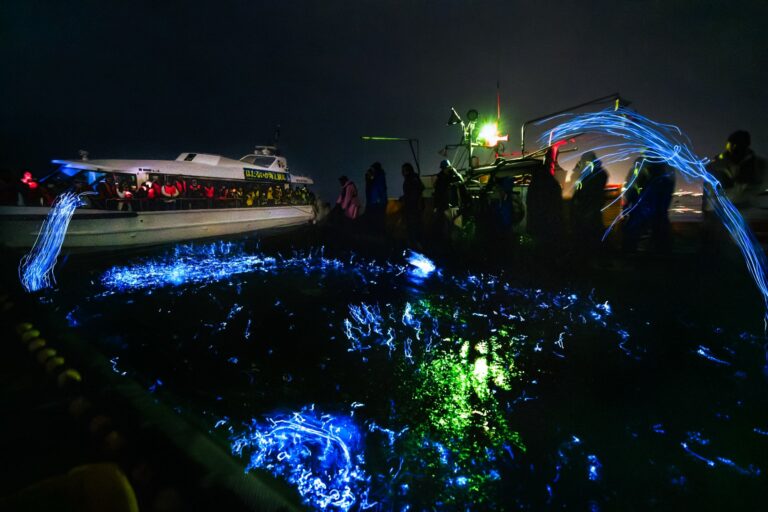
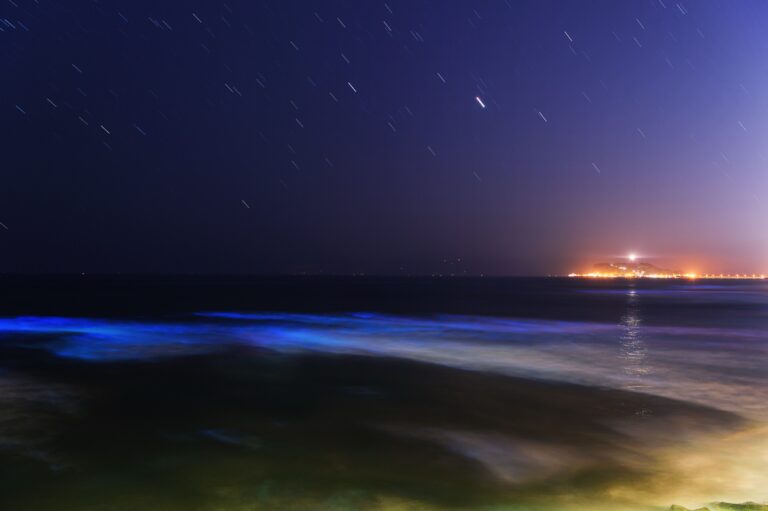
Stand on a glowing beach for the first time and you may feel let down. To the naked eye, sea sparkle is usually a soft, shifting grey-blue along the breaking waves — lovely, but nothing like the saturated electric blue you have seen online. That blue is real, but it is a long-exposure effect: the camera collects light over many seconds that your eye cannot stack. Knowing this changes how you shoot — you stop chasing what you can see and start building the photo the sensor can make.
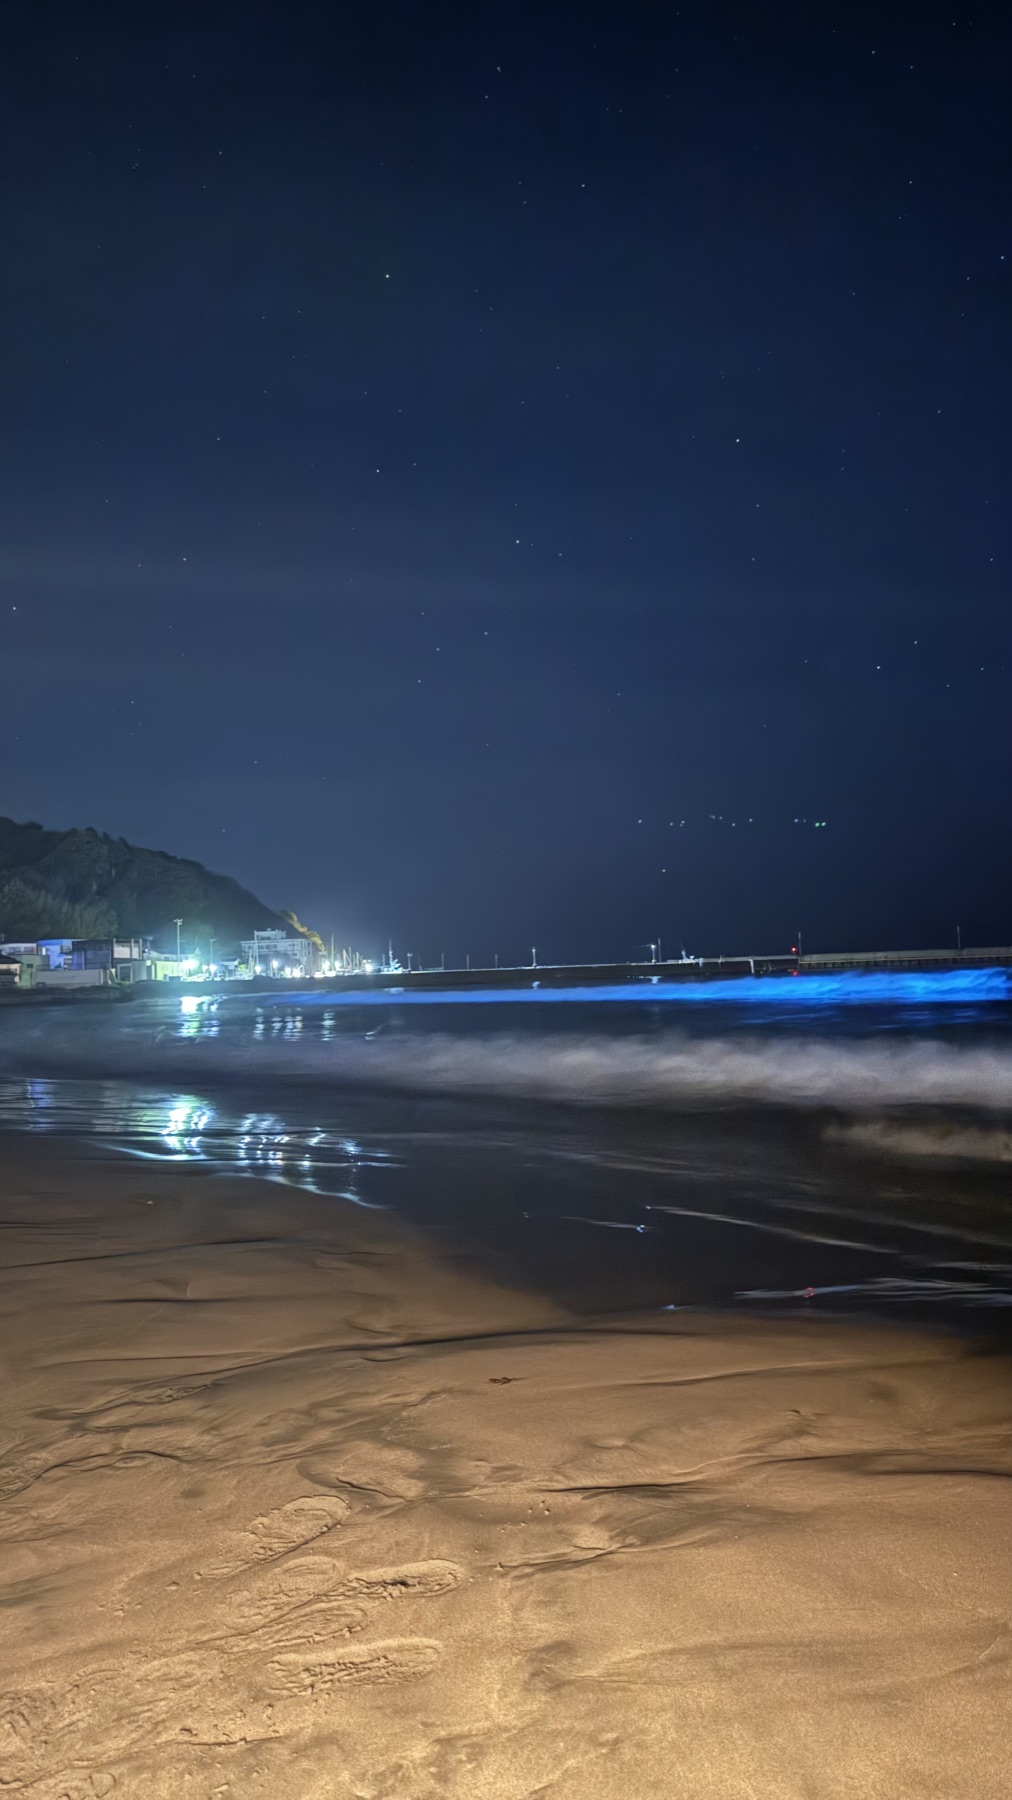
What you need
A tripod (the one essential)
Exposures run many seconds, so the camera must be dead still. A small travel tripod is fine; even bracing a phone on a bag or rock helps.
A fast, wide lens
Something that opens to f/2.8 or wider, in the 14–35 mm range, gathers light and fits in the wave line, the foreground, and the stars.
A remote or the 2-second timer
Pressing the shutter by hand shakes the frame. Use a remote, the timer, or your phone shutter app.
A red headlamp
You need to see your dials without killing your night vision — or the shot of anyone nearby. White light ruins both.
My camera settings — a starting point
These are where I begin; adjust by what you see on the back of the camera. The two settings people get wrong are focus (use manual) and shutter (go long).
| Setting | Where I start | Why |
|---|---|---|
| Mode | Manual (M) | You need full control of every value in the dark |
| Aperture | f/1.4–f/2.8 (as wide as the lens goes) | Gathers the most light |
| ISO | 1600–6400 (start ~3200) | High enough to register the glow, low enough to stay clean |
| Shutter | 8–20 seconds | Smooths the glowing water; longer also streaks the stars |
| Focus | Manual, set to infinity | Autofocus hunts in the dark — focus on a far light, then lock to manual |
| White balance | ~3500–4000 K | Keeps the blue clean instead of muddy or orange |
| File / shutter release | RAW + 2-sec timer or remote | Recover detail later; avoid camera shake |
Composition: do not shoot an empty black frame
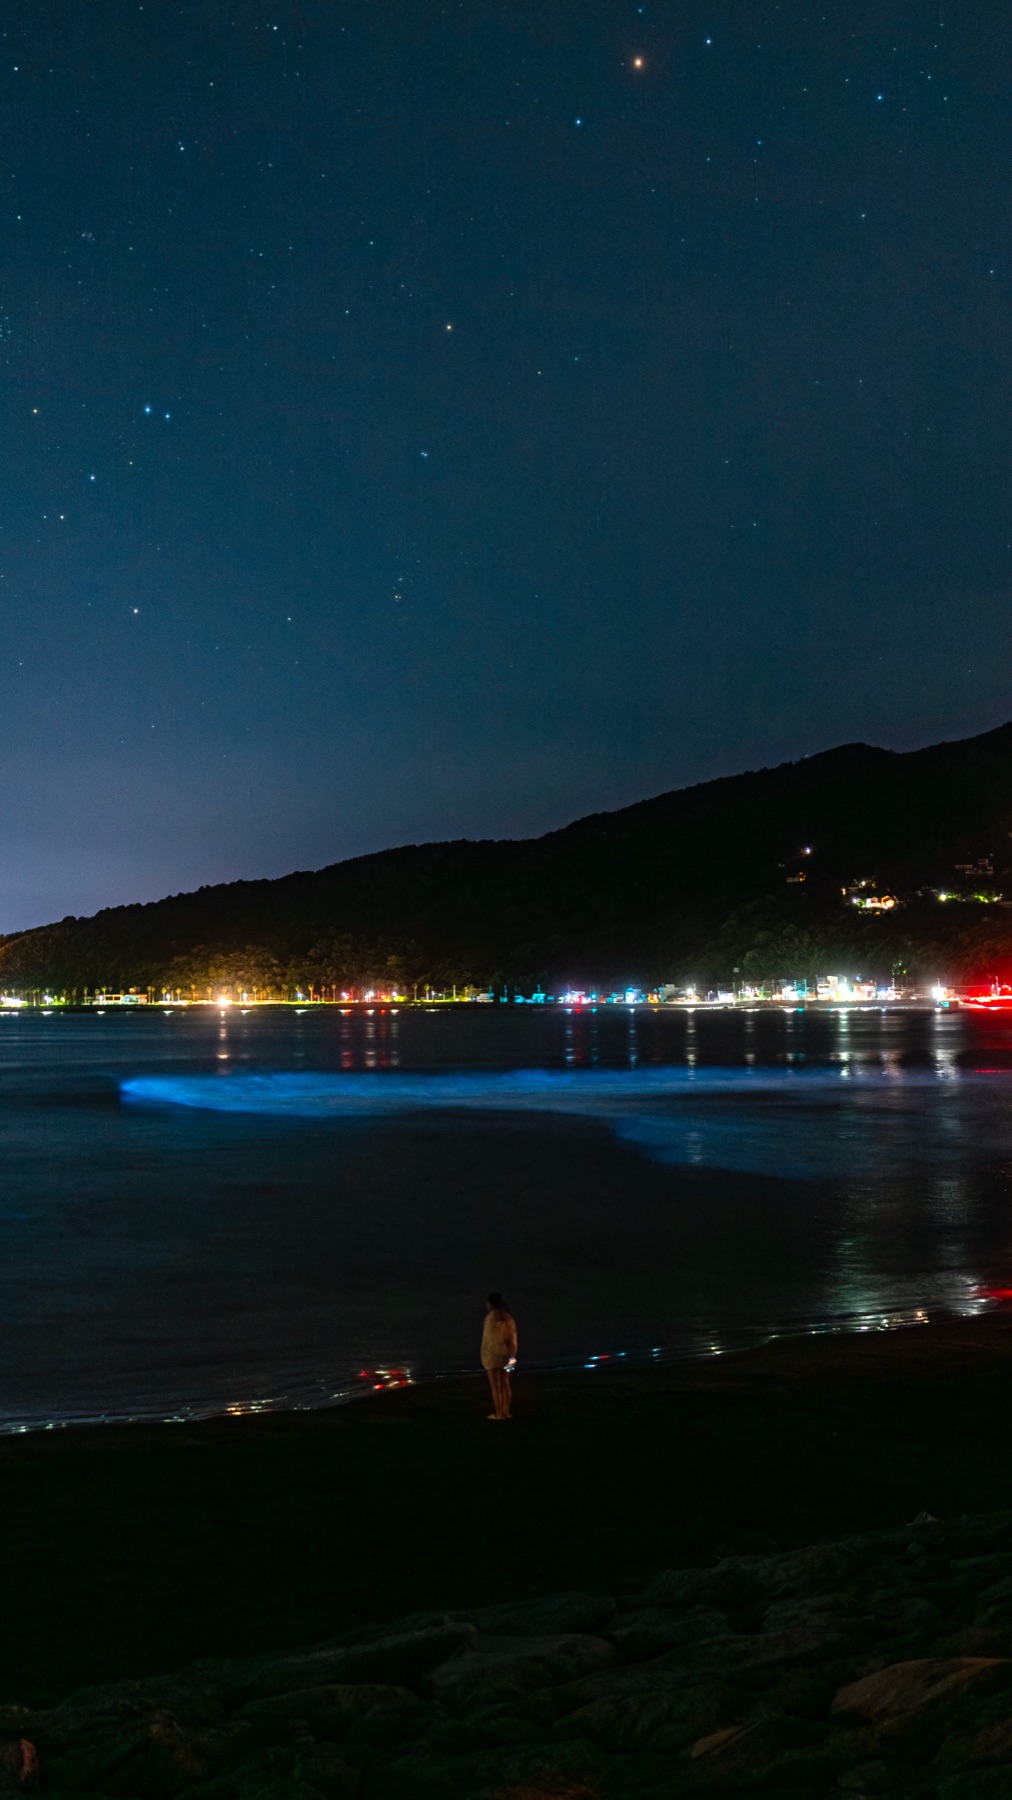
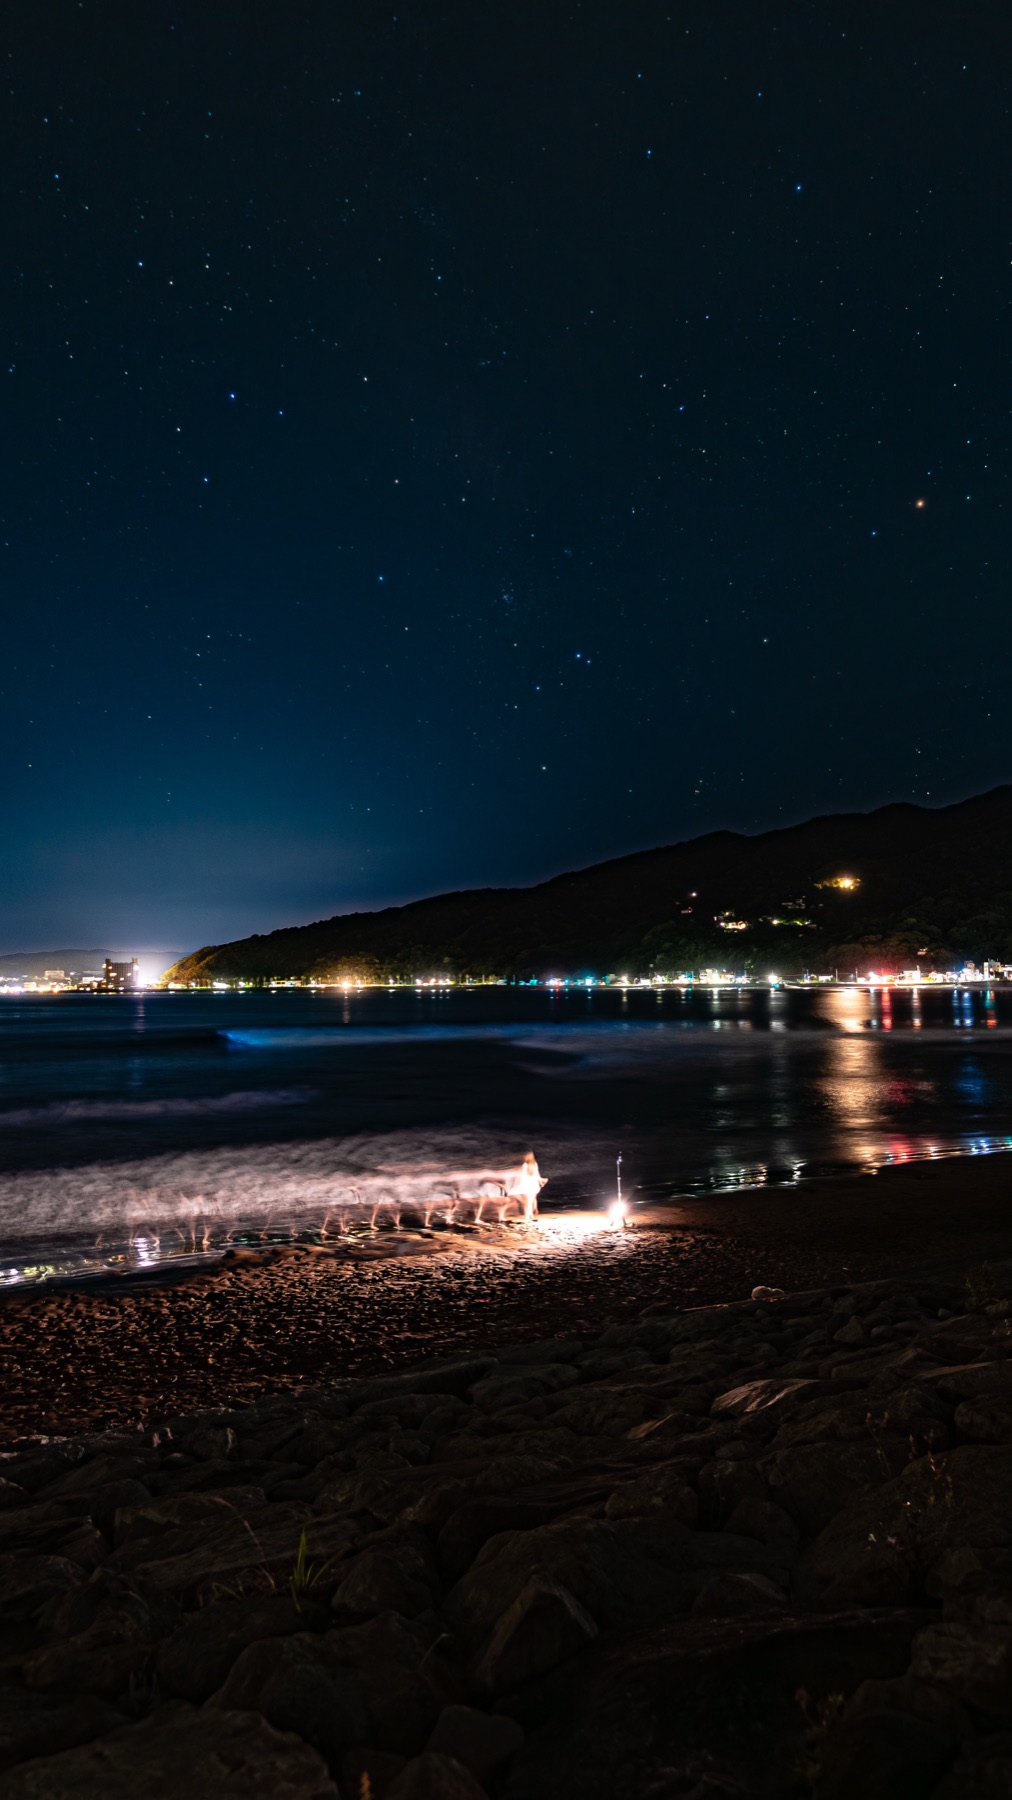
The glow alone, floating in black, gets boring fast. The shots that hold up have something to anchor them — the wave line where the blue lives, plus a foreground and a sense of place. A person at the waterline gives scale. Rocks or wet sand in front give depth. The town lights across the bay and the stars overhead give context and colour. Build the frame around the glow, not just on it.
Shooting it on a phone
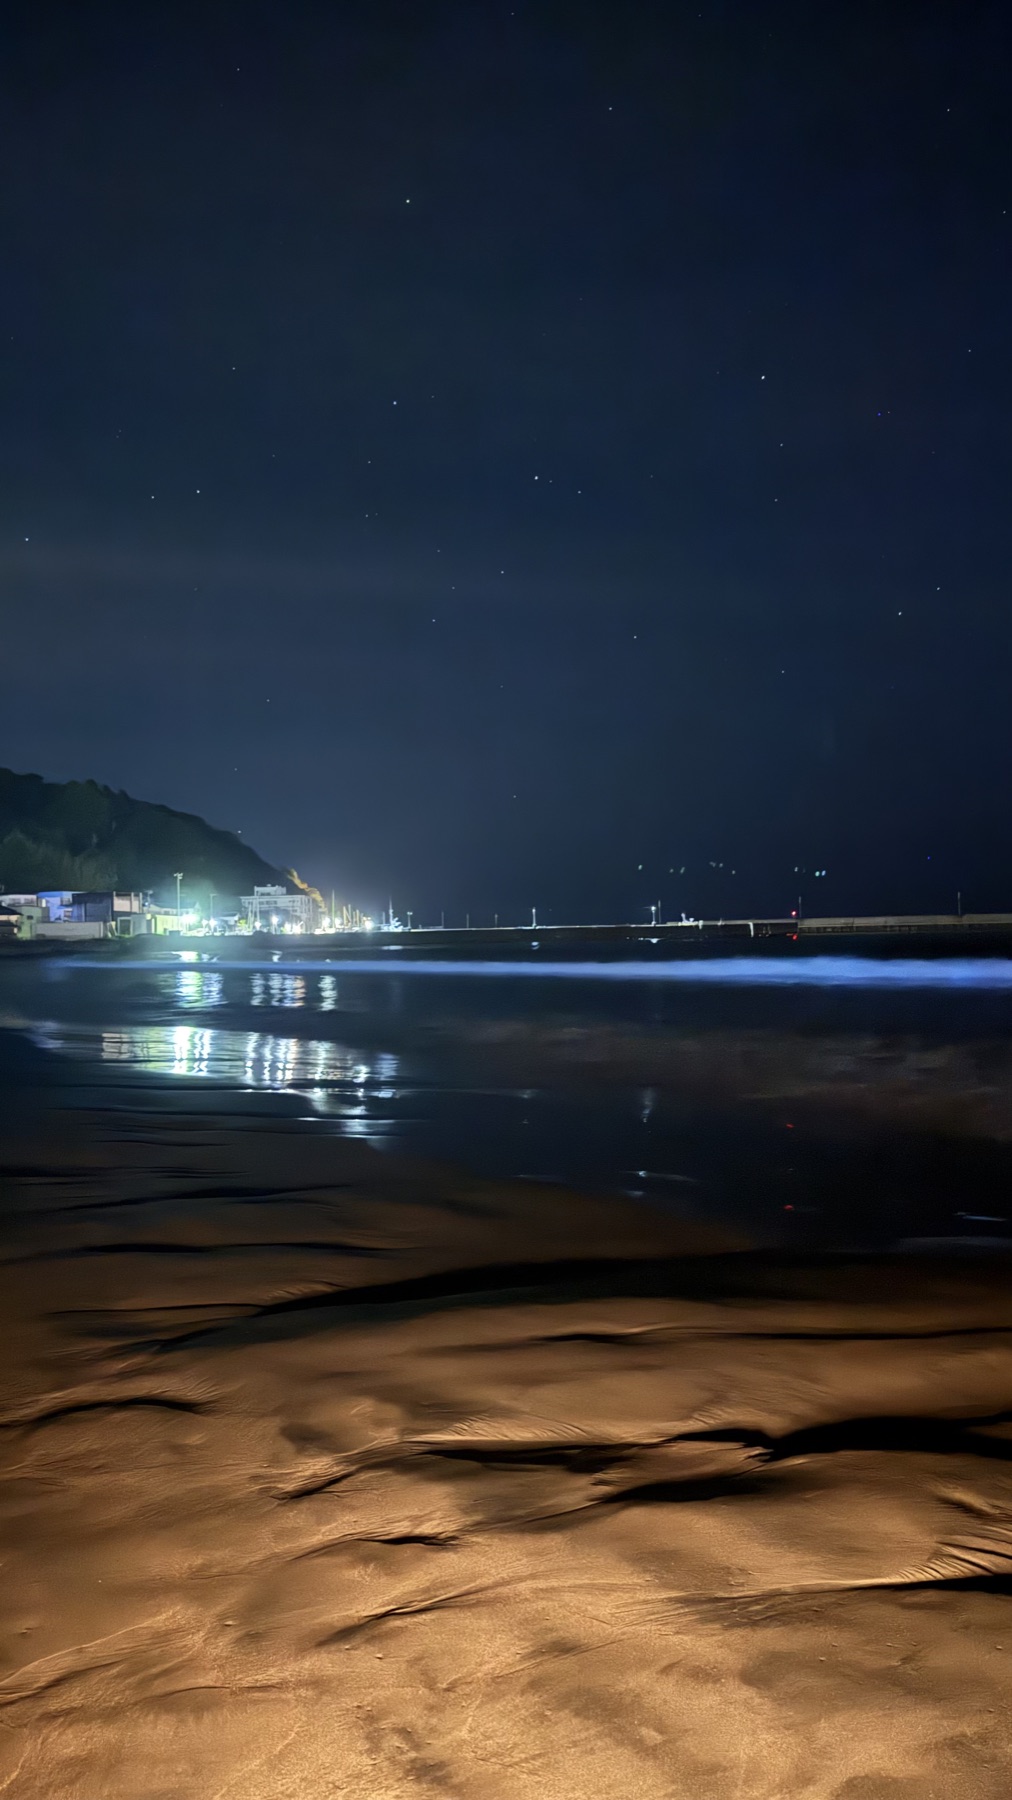
You do not need a big camera. A recent phone in night mode does a genuinely good job, because night mode is itself a stack of long exposures. Brace the phone against something solid (a bag, a rock, a mini tripod), let night mode run its full few seconds, tap to lock focus and exposure on the bright wave line, and drag the exposure slider down a touch so the blue does not blow out. Hold your breath, or use the timer, while it captures.
Field tips that save the night
Scout in daylight
Find your spot, your foreground, and a safe path to the water before dark. A daytime red tide is also your best hint the glow may come.
Mind the wind
A strong offshore wind pushes the bloom out to sea and the glow can fade within an hour. Calm nights hold it inshore.
Be patient, and dark-adapt
Give your eyes 10–15 minutes away from screens and streetlights. The glow often builds as the tide and waves shift.
Do not light-pollute
Keep white phone screens and flashlights off near other shooters. One bright screen ruins everyone’s long exposure.
When and where to shoot it
Sea sparkle is seasonal and never guaranteed — it runs late spring through summer on Japan’s Pacific coast, and it moves between beaches night to night. Before you pack the tripod, read what it actually is and when it appears in our guide to sea sparkle and why the ocean glows blue, then check where it is glowing now in our live sightings tracker. Many of the Shōnan nights cluster near Enoshima.
What camera settings do you use for sea sparkle?
Manual mode, a wide aperture (f/1.4–f/2.8), ISO around 1600–6400, a shutter of roughly 8–20 seconds, manual focus set to infinity, white balance near 3500–4000 K, and RAW with a 2-second timer or remote. Start there and adjust by what the screen shows.
Can you photograph sea sparkle on a phone?
Yes. A recent phone in night mode does well, because night mode is a stack of long exposures. Brace the phone steady, tap to lock focus and exposure on the bright wave line, drag the exposure down a touch, and let it run.
Why does sea sparkle look fainter in person than in photos?
Because the saturated blue is a long-exposure effect. A camera collects light over many seconds that your eye cannot stack, so it records far more glow than you can see in the moment. To your eyes it is usually a soft grey-blue.
Do you need a long exposure?
Effectively yes. A multi-second exposure is what smooths the water and builds the blue. That is also why a tripod is the one piece of gear you cannot skip.
What lens is best?
A fast, wide lens — something that opens to f/2.8 or wider in roughly the 14–35 mm range. It gathers light and lets you fit the wave line, a foreground, and the stars in one frame.
When and where can you photograph sea sparkle in Japan?
Late spring through summer on the Pacific coast — Sagami Bay and the Shōnan beaches, Suruga Bay, Mikawa Bay, and Izu are the most reliable. It changes nightly, so check a live tracker the day you go.
Join 1,000+ travelers discovering Japan's hidden side
Weekly dispatches from off-the-beaten-path Japan — spots and stories you won't find in guidebooks.
No spam. Unsubscribe anytime.
Welcome aboard!
You're in. See you in your inbox soon.