

Entry guide · 2026 edition
Visit Japan Web 2026: One Account, One QR Code, and the New Joint Kiosk
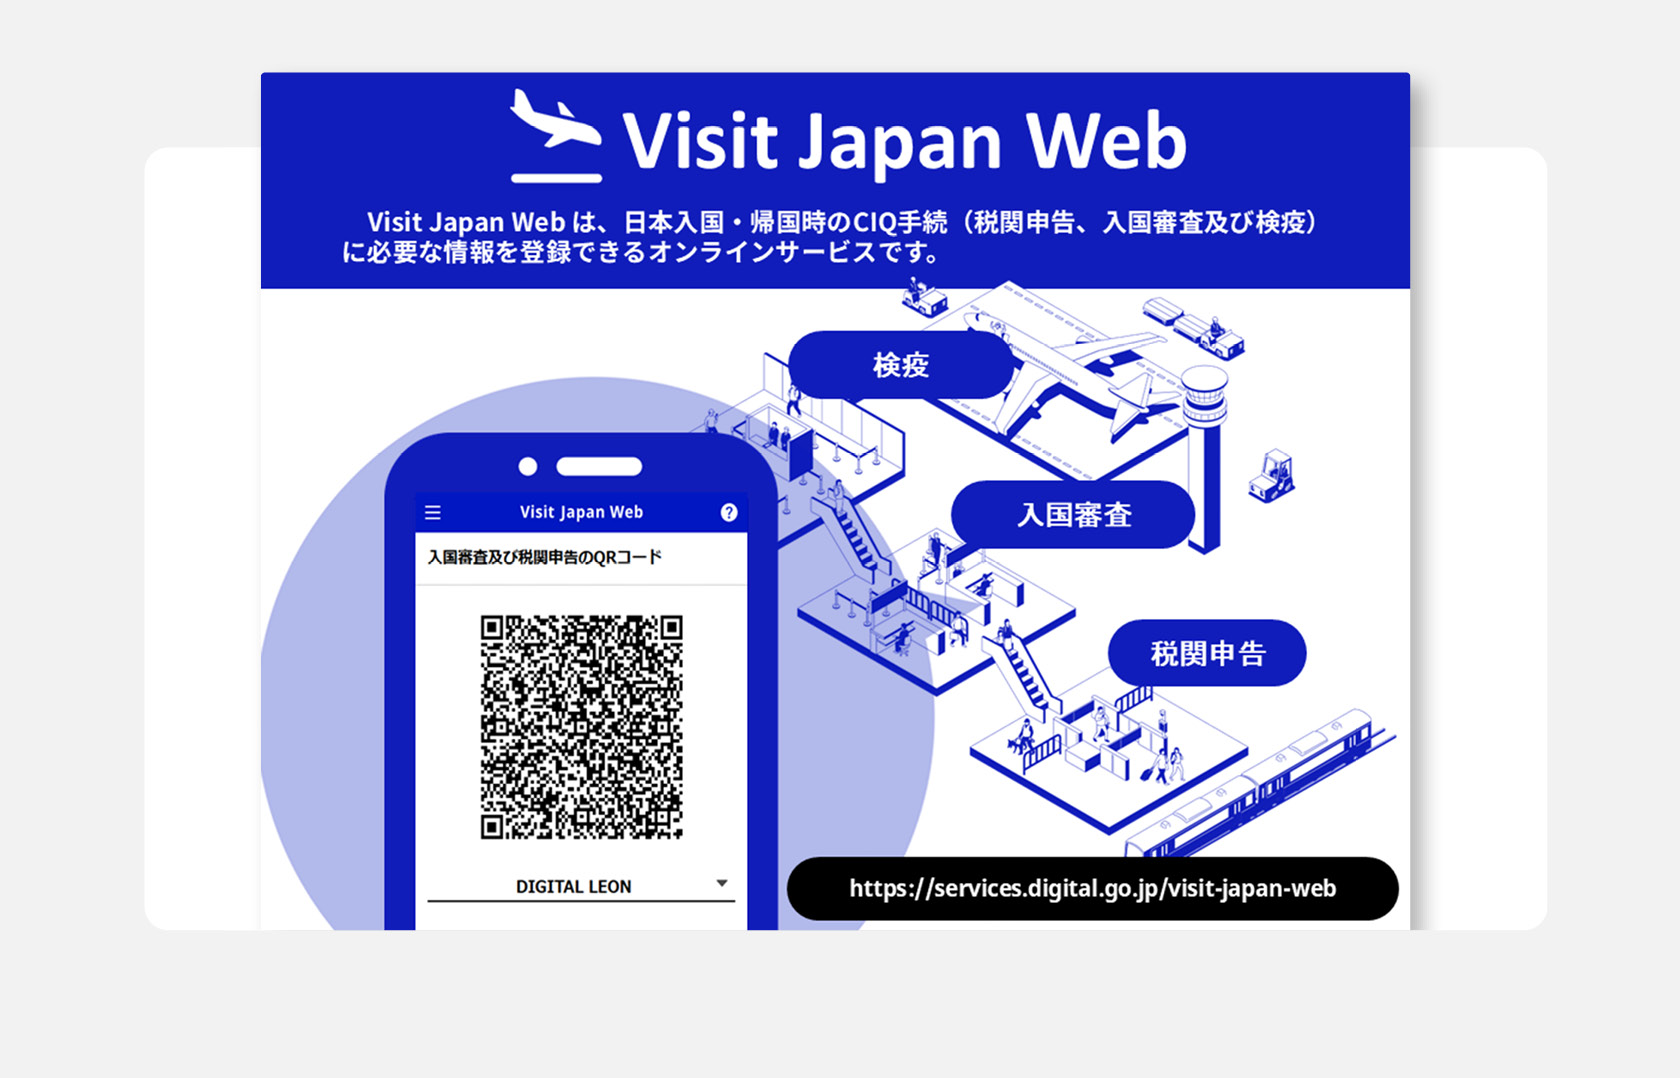
Visit Japan Web is the optional online service that replaces the paper arrival card and customs declaration most travellers used to fill out on the plane. In 2026, Narita (Terminal 3), Haneda, Kansai and Fukuoka rolled out a Joint Kiosk that scans your QR code and passport in a single step. Here is exactly what to register, what changed, and where the system still trips people up.
The 30-second summary
Register on Visit Japan Web up to two weeks before your flight, complete both immigration and customs sections, and screenshot the QR code before you board. At Narita (T3), Haneda, Kansai and Fukuoka you now scan once at a Joint Kiosk instead of stopping at two separate counters. The tax-free shopping function is being phased out — most stores ignore it.
Quick Facts
| Operator | Digital Agency, Government of Japan (services.digital.go.jp) |
|---|---|
| Launched | November 2022 |
| Required? | No. Paper arrival cards and customs declarations are still accepted on the plane and at the airport. |
| QR code generated | One unified code for immigration and customs (combined since late 2023), plus a separate, largely-defunct code for tax-free shopping. |
| Time to register | Around 15 minutes for one person, longer for families. |
| When to register | Any time before you fly — about two weeks ahead is ideal. You can even finish it on arrival-airport Wi-Fi if needed; confirm timing on the official site. |
| Family registration | Up to 10 people on one account. |
| Joint Kiosk airports (2026) | Narita Terminal 3, Tokyo Haneda, Osaka Kansai, and Fukuoka. |
| Cost | Free. |
What Visit Japan Web actually is
Most Japanese residents like me have never used Visit Japan Web. The system exists for foreign passport holders entering Japan as visitors, transit passengers, or returning long-term residents. It does one job: it lets you pre-fill the immigration and customs paperwork online, then walk through the airport with a QR code on your phone instead of a pen-marked paper card.
The Digital Agency runs the platform at services.digital.go.jp/en/visit-japan-web/. There is no native app — it is a browser-based web service, and the registration link goes straight to a regular login page in Safari, Chrome, or whichever browser you use. The “app” terminology you may see in older guides refers to the same web service; there has never been a separate iOS or Android download from the Digital Agency.
One important note about scope: Visit Japan Web is for arrival procedures into Japan. It is not a visa, and it does not replace eVisa requirements for the small number of nationalities that need a tourist visa. If your passport requires a visa for Japan, you still arrange that separately at an embassy or via the eVisa portal — Visit Japan Web is the layer on top of that, handling only the arrival card and customs declaration.
What changed in 2026: the Joint Kiosk
The single biggest change in 2026 is the rollout of Joint Kiosk machines at Narita (Terminal 3), Haneda, Kansai and Fukuoka. Visit Japan Web now bundles immigration and customs into one unified code (they were two separate codes until late 2023), but at most airports you still showed it at two stops: the immigration desk, then a separate customs gate. The Joint Kiosk merges those stops. You scan your passport and the one QR code at a single machine, and it handles both immigration entry and customs declaration in one step.
Before vs after
Before 2026
Two stops: immigration booth (scan your QR + passport), then walk to a separate customs gate (scan the same QR). Two queues, two waits.
2026 Joint Kiosk (Narita T3 / Haneda / Kansai / Fukuoka)
One stop: scan passport + QR code at a single machine. Both immigration and customs cleared in one transaction.
How much time this actually saves is a fair question. Several mainstream guides quote a 20 to 45-minute improvement; an honest read of arrival reports in the first quarter of 2026 suggests the savings depend more on how many flights have just landed than on whether you used Visit Japan Web at all. On a quiet morning at Haneda, paper-form travellers and Joint Kiosk travellers both clear customs in around 15 minutes. After three jumbo jets land within ten minutes of each other, the kiosk lane is faster — sometimes substantially. Treat the time-savings claim as “real on busy arrivals, modest the rest of the time.”
Smaller airports (Chubu Centrair, New Chitose, Naha and others) still operate the older two-step flow at the time of writing. The QR codes work — you just present them at separate immigration and customs counters. Confirm with your arrival airport before flying if you want to know exactly what to expect.
The QR code, explained
A common cause of confusion: travellers complete the immigration section, see a QR code, and assume they’re done. Since late 2023, Visit Japan Web bundles immigration and customs into a single unified code — but you still have to finish both sections to make it valid, and there is a separate, optional tax-free shopping code.
Immigration + customs
Unified arrival code
One code covering both the arrival card and the customs declaration (combined since late 2023). Scanned once at a Joint Kiosk, or shown at the immigration booth and again at the customs gate where there is no kiosk.
Both sections required
Why it can fail
The unified code is only valid once you complete both the immigration and the customs sections. Finish only immigration and you’ll still be handed a paper customs form on arrival.
In stores (limited)
Tax-Free Shopping QR
Designed for duty-free purchases. Acceptance has dropped sharply in 2026 because the tax-free system itself is being restructured — most retailers no longer scan it.
Both immigration and customs sections must be completed for the QR codes to be valid for entry. Skipping the customs section is the single most common mistake — the system will let you save and even share an immigration-only QR, but you’ll still need to fill out a paper customs form on arrival.
Step-by-step registration
The whole process takes around 15 minutes for a single traveller, longer for a family of four. Have your passport, flight number, and arrival hotel address ready before you start.
Create an account at services.digital.go.jp
Email + password. The interface is available in English, Japanese, Chinese (simplified and traditional), and Korean. There is no app to download — bookmark the website on your phone’s browser.
Add your personal details and passport
Name, date of birth, nationality, occupation, and passport details. You can scan the passport’s photo page with your phone camera or type the details by hand. If the photo upload fails, retake it in brighter, even light — the system rejects glare and shadows.
Add family members (up to 10 on one account)
Children under 18 travelling on the same passport-holder’s flight can be linked to the lead traveller’s account. The same passport details and personal information are required for each. The lead traveller will hold all the QR codes on their phone at the airport.
Register the trip: flight number and arrival date
Enter the flight number, scheduled arrival date, and arrival airport. If your flight number changes — code-share, schedule disruption, rebooking — do not edit the existing trip. Create a new trip entry with the correct flight number, since edits sometimes fail to propagate to the QR scan layer.
Complete the immigration (disembarkation) section
Address in Japan (your first hotel is fine), purpose of visit, length of stay, occupation. The questions about prior immigration history must be answered honestly — the immigration officer will see the answers when scanning the QR.
Complete the customs section
This is the step most often skipped. You will be asked about cash exceeding ¥1 million, prohibited items, gifts and merchandise, and whether anyone is carrying baggage on your behalf. The QR code will only be valid for the Joint Kiosk if this section is finished.
Generate the QR codes and save them offline
Take a screenshot of each QR code with the coloured header band visible (the band tells the scanner which document the QR represents). The Digital Agency’s official position is that QR codes should be displayed live, but in practice screenshots are accepted at the kiosks and immigration desks — and they are essential backup when airport Wi-Fi fails or your phone battery is low. Printed copies tucked into your passport are an even safer fallback.
Family travel: every passenger needs their own QR code
This is the single most common point of failure on Visit Japan Web. Many families assume that one QR code generated by a parent covers everyone in the booking. It does not. Every person entering Japan — including infants and children under three — needs their own individual QR code. The website lets one account manage the whole family, but after adding each family member you have to complete a separate immigration and customs declaration for each one before that person’s QR code is generated. The interface does not make this step obvious, and families regularly discover the gap at the immigration counter.
The fix is a sequence, not a single button. From one parent’s account:
- Register your own details first. Complete your own passport scan and registration on the parent’s account.
- Add family members under Register User → Details of family members travelling with you. Up to ten people per account. Each needs their passport.
- Go to “Register planned entry/return” and select your trip. At the top there is an Applicant dropdown that defaults to your name.
- Change the Applicant dropdown to the first family member. The page now shows that person’s information with status “not registered.”
- Complete the immigration and customs declaration for that person. Click Register. The status flips to “registered” and a Display QR Code button appears for them.
- Repeat steps 4–5 for every family member. Each person now has their own unique QR code, accessible from the parent account.
One side-effect of this design: if you only register the parent and arrive at Narita with three other family members holding nothing, the family will be diverted to a paper-form lane and processed manually. That can take 30–60 minutes on a busy arrival window. The fix takes about three minutes per person at home.
The tax-free shopping QR: why it stopped working
If you read a 2024 or early 2025 guide, the tax-free QR code was meant to streamline tax-free shopping at major retailers. In practice, that workflow has unraveled in 2026. Japan is restructuring its tax-exemption system for foreign visitors — the new model moves toward a refund-at-the-airport-on-departure scheme rather than a discount-at-purchase scheme. Most retailers we checked in early 2026 (Bic Camera, Don Quijote, Uniqlo flagships, department stores) no longer scan the Visit Japan Web tax-free QR.
The practical advice: keep your purchase receipts and tax-free paperwork from each store. At Narita, Haneda or Kansai, claim your refund at the customs counter on departure rather than relying on the QR at point of sale. Do not skip the tax-free section in Visit Japan Web — registering it is harmless and may matter again as the new system stabilises — but plan around the receipt-based workflow for your actual trip.
What goes wrong, and how to fix it
These are the issues that come up most often based on user reports and the Digital Agency’s own troubleshooting guidance.
| Issue | What to do |
|---|---|
| “My QR code didn’t generate” | You probably didn’t complete the customs section. Go back to the trip page and finish both immigration and customs to unlock the QR codes. |
| “My flight number changed” | Don’t edit the existing trip. Create a new trip entry with the correct flight number — old QR codes will still exist, and you simply use the new ones at the airport. |
| “Passport photo upload keeps failing” | Retake the photo in even daylight, no glare or shadow. Place the passport flat on a contrasting background. Manual data entry is always available if the photo path keeps failing. |
| “Airport Wi-Fi is unreliable” | Take a screenshot of your QR code (with the coloured header band visible) before you board. The screenshots are accepted at every kiosk reported as of April 2026, despite older guidance suggesting they aren’t. |
| “My phone is dead at the airport” | Print the QR codes at home and tuck them into the passport. The kiosks scan paper printouts as readily as a phone screen. |
| “I made a typo in my passport details” | Edit before passing through immigration — the website allows changes any time before scan. After the scan, you cannot retroactively edit a used QR. |
When you might want to skip Visit Japan Web
The system is optional, and there are situations where the paper alternative is genuinely fine:
- You are arriving at a smaller regional airport that doesn’t have the Joint Kiosk and the time savings are minimal.
- You don’t want to register a passport and email with a foreign government’s database (a reasonable preference some travellers hold).
- Your flight number is changing repeatedly close to departure and you’d rather just fill out a paper card on the plane.
- You are travelling with elderly relatives who find the website fiddly. Cabin crew distribute paper arrival cards on every flight into Japan, and the immigration officers will hand-process them.
The friction with paper forms is genuinely small. Personal experience from an arrivals-hall observer: the paper-form lane and the QR lane often clear customs in roughly the same time, especially in the first 30 minutes after a wave of flights lands. The argument for Visit Japan Web is cleaner data entry on a phone keyboard rather than a tray-table pen, not a dramatic time saving.
Sort these before you land
Visit Japan Web handles immigration; these handle everything from the moment you step off the plane. You can have them waiting — delivered to your hotel, an airport locker, or a convenience store.
Japan data SIM
Online the second you land — no airport-counter queue. Or compare an eSIM if your phone takes one.
Power bank
A long arrival day of maps, QR codes and photos drains a phone fast.
Japan plug adapter
Japan uses Type-A two-pin outlets. One adapter and you can charge everything.
Luggage scale
Weigh your bag before the flight home so a souvenir haul does not cost you at the gate.
Pre-flight checklist
Before you board, confirm
- Account created with valid email + password
- Passport details entered for every traveller (up to 10 per account)
- Trip registered with correct flight number and arrival airport
- Immigration section fully answered
- Customs section fully answered (most common omission)
- QR code generated and screenshot taken with coloured header visible
- Optional: printed copies tucked into each traveller’s passport as backup
- Phone charged or charger packed in carry-on
FAQ
Do I have to use Visit Japan Web?
No. Paper arrival cards and customs declarations are still distributed on inbound flights and available at every airport. Visit Japan Web is an optional digital alternative for travellers who prefer to fill out the paperwork in advance on a phone or computer.
How early can I register?
You can register any time before you fly; about two weeks before departure is the sweet spot — late enough that flight details are stable, early enough that you aren’t doing it at the airport.
Can I use a screenshot of the QR code?
The official guidance on the Digital Agency website discourages screenshots in favour of live display. In practice, every Joint Kiosk and immigration desk we checked in early 2026 accepts screenshots so long as the coloured header band of the QR code is visible. Take the screenshots before you fly as a safety net against airport Wi-Fi outages.
Does Visit Japan Web replace a tourist visa?
No. If your passport requires a Japanese tourist visa, you still arrange that through an embassy or the eVisa portal. Visit Japan Web only handles the on-arrival paperwork — the immigration arrival card and the customs declaration.
What about the tax-free shopping QR — does it still work?
Acceptance dropped sharply in 2026 because Japan is restructuring its tax-exemption rules. Most major retailers no longer scan the tax-free QR at the register. Save your receipts and claim the tax refund at the customs counter when you depart from the airport.
Join 1,000+ travelers discovering Japan's hidden side
Weekly dispatches from off-the-beaten-path Japan — spots and stories you won't find in guidebooks.
No spam. Unsubscribe anytime.
Welcome aboard!
You're in. See you in your inbox soon.